Find key information about your customers by utilizing our search functions.
Overview
- Want to find all your customers with Wish Lists, or view sales a specific customer has placed?
- You can do that and more by navigating in Admin to Customers > List.
Search for Customers
- Use the search bar to find specific customer(s).
- You may display Registered customers, Guest customers, or All by selecting that group above the search bar.
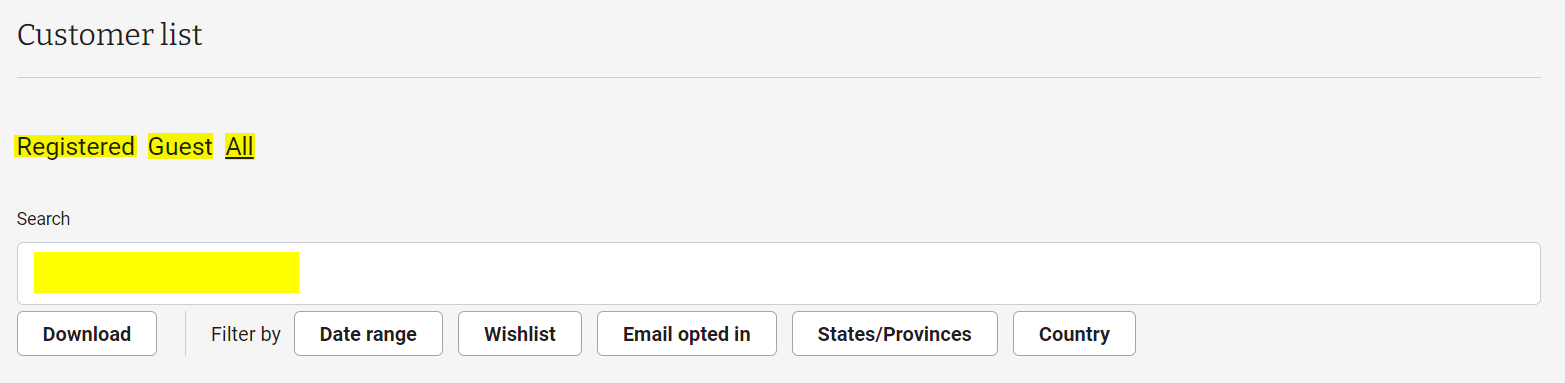
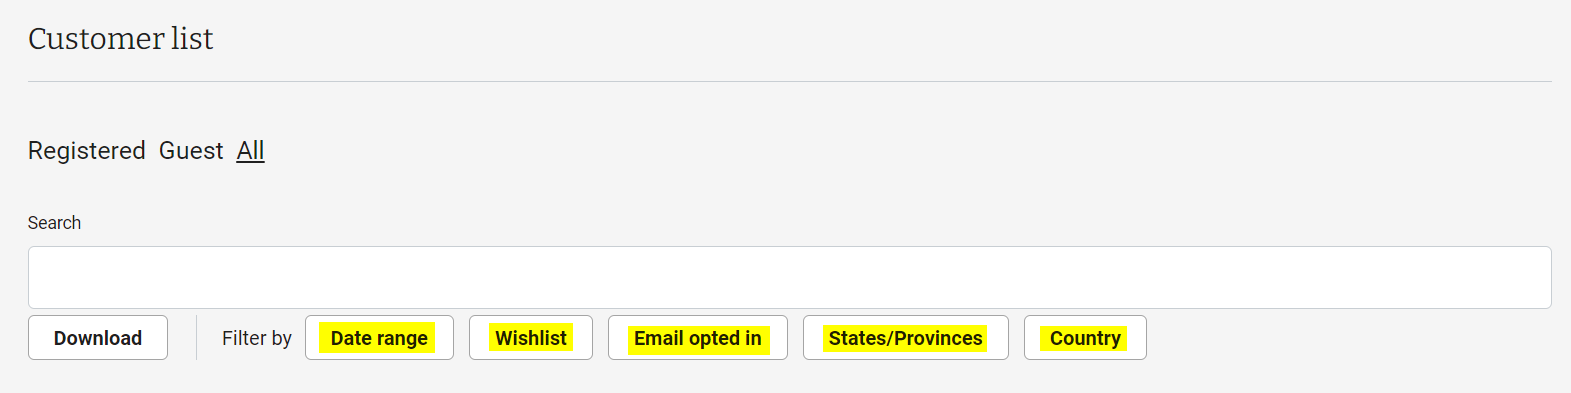
- The following filters are available to help refine your search:
- Date Range - select dates
- Wishlist - Has Wishlist or No Wishlist
- Email Opted In - Opted Out or Opted In
- States/Provinces - a list of all states/provinces contained in the list from which to choose
- Country
View Customer Details
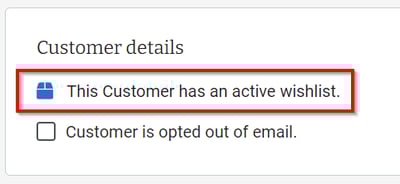
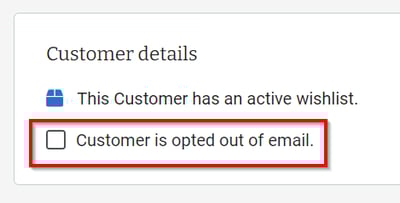
- Click a customer to select their record. From there you can:
- View an active wishlist if one exists (the box icon will be blue).
-
- Opt the customer in/out of email.
-
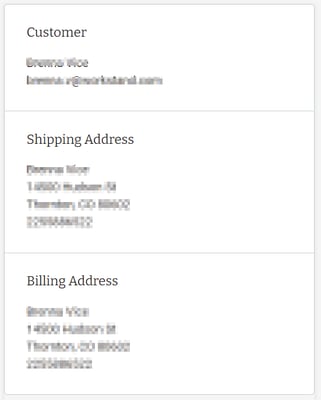
- View their billing and shipping addresses.
-
- View their order history.

-
- Delete the customer.

If a user has an account, but uses the Guest Checkout, their sales will not end up in their customer account.
Download Customer List
- Generate and download various customer mailing lists in spreadsheet format.
- To begin, filter the customer list to your desired results.
- If you'd like to select the entire list then click the checkbox in the top left of the list, otherwise you can manually select each customer.
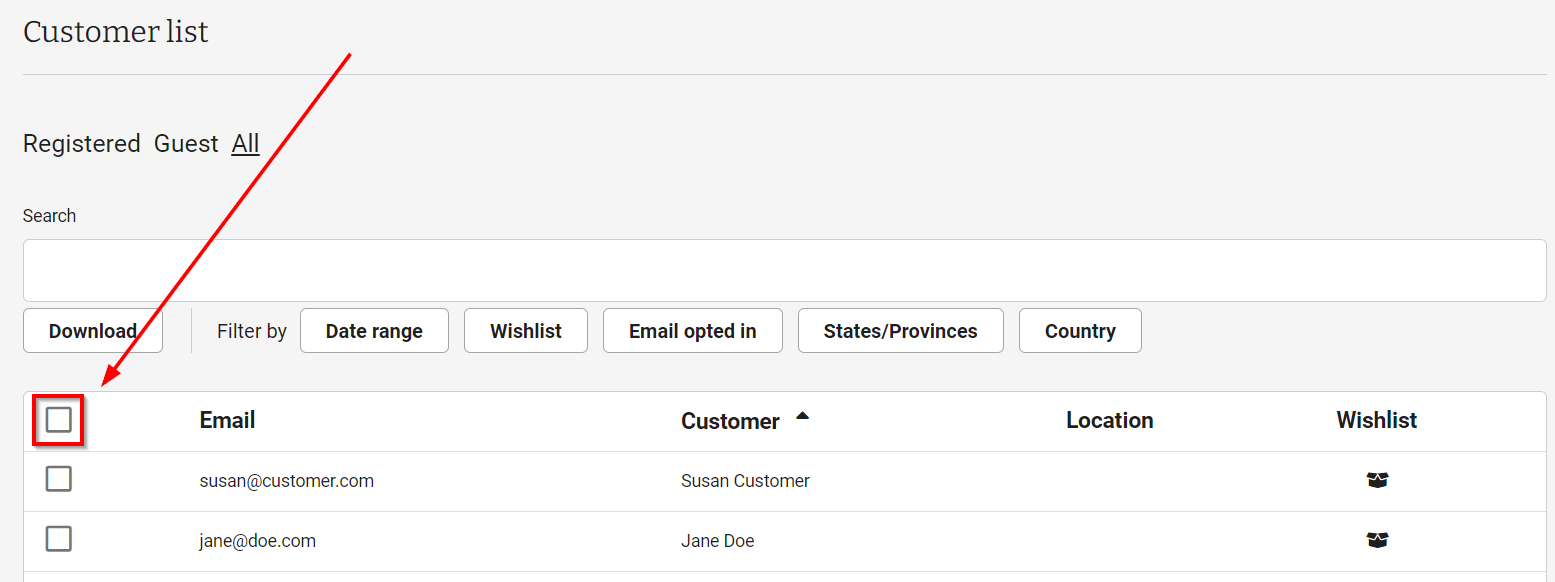
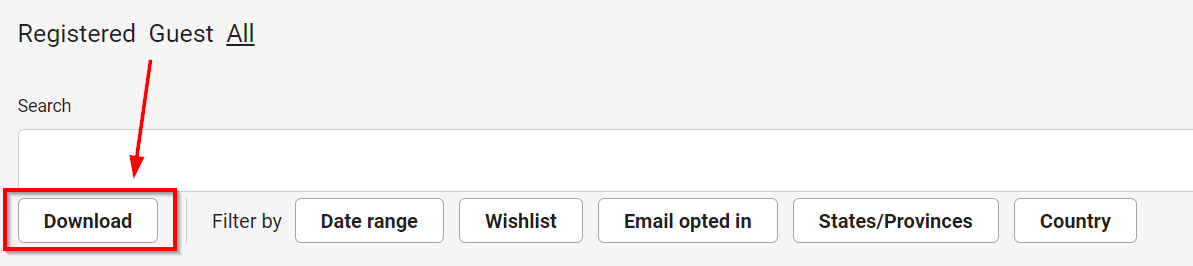
- Next, click the "Download" button.
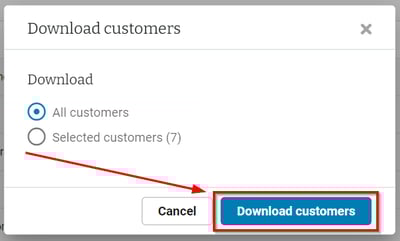
- Confirm your download selections and click "Download customers".
- A CSV file containing the following customer information will then be downloaded to your computer.
- Email Address
- Billing First Name
- Billing Last Name
- Billing Address 1
- Billing Address 2
- Billing City
- Billing State/Province
- Billing Postal Code
- Billing Country
- Billing Phone
- Email Opt-in - FALSE = not opted in, TRUE = has opted in
- Has Wishlist - FALSE = no wishlist, TRUE = has wishlist

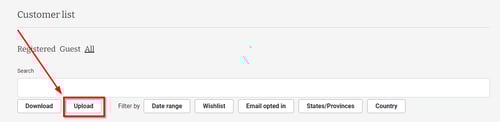
Customer Importer
- Our upload feature allows you to bring over customers from your current POS to Workstand POS using a CSV file.
- To begin, navigate in Admin to Customers > List, and click the "Upload" button.
- Next, click "Download template".
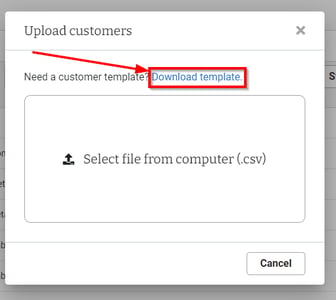
- From the downloads section of your browser, click the file and it will open in your default program for viewing .csv files. For demonstration purposes, Excel will be used.

- Fill out the template with your customers' information.
- Email Address, First Name, and Last Name are REQUIRED fields. Phone Number is optional.
- Customers are opted in to promotional emails by default. You can set a customer as opted out of Promotional emails. To do this, enter FALSE in the "Promotional Email Opt-In" column.
- TRUE or blank = opted IN to email marketing
- FALSE = opted OUT of email marketing
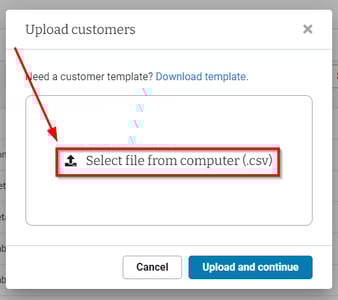
- When done entering your customer, save the file, and note the file name and the save location.
- In Admin, click "Select file from computer (.csv)".
- From your computer select the file you have just saved, and click "Open".
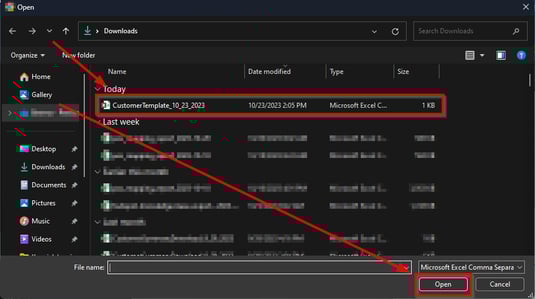
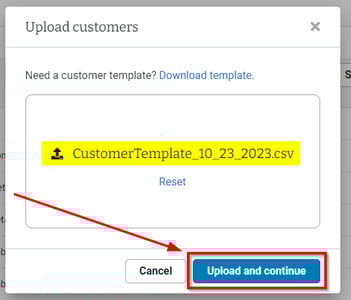
- Confirm the file you selected is listed in the pop-up box and click "Upload and continue".
- The newly uploaded customers will now be visible in the customer list.
The upload feature will only create new customers, it will not update existing customers in your list.