Instructions on how to download, install, and configure QBExport to connect your QuickBooks POS inventory to your website.
QBExport was made to work with the most recent versions of QuickBooks POS Pro (v18 & v19 - single or multi-store). If you have an earlier version of QuickBooks, the functionality using this utility may be limited.
Order Export/Sales Order download available
The QBExport application can now be used to upload your QuickBooks POS inventory and to export your online orders into your QuickBooks POS. See our QBExport order Export page for instructions on configuring QBExport for Order Export (aka Sales Order download).
Installing QBExport
NOTE: QuickBooks POS should be closed while installing this application.
Download the QBExport Application Here
Click the link above to download the Setup file. This application will need to be installed on the main computer (or server) where QuickBooks is installed (NOTE: If your browser presents a warning notice when attempting to download the application, it is safe to continue past the warning as some browsers will flag the file type as potentially unsafe.)
- Once downloaded, locate the Setup.exe file, right click and choose Run as Administrator (if that is not an option, double click on Setup file)
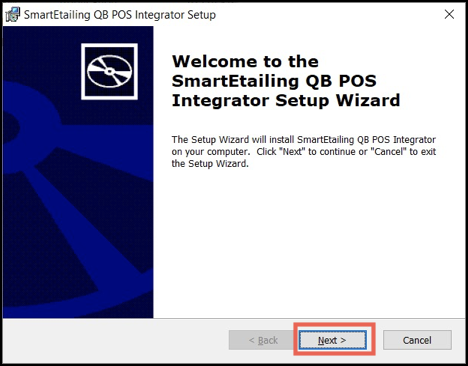
- Once the Setup Wizard starts, click "Next"
- Select the installation folder. By default the application will install to C:\SmartEtailing QB POS Integrator\. You can click Browse to choose a different folder or location
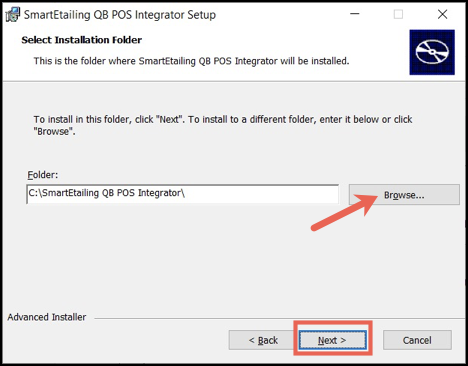
- Once you have selected the location, click Next, and select Install
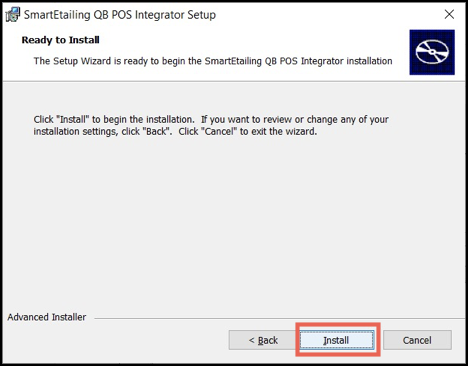
- Click Finish to complete the installation
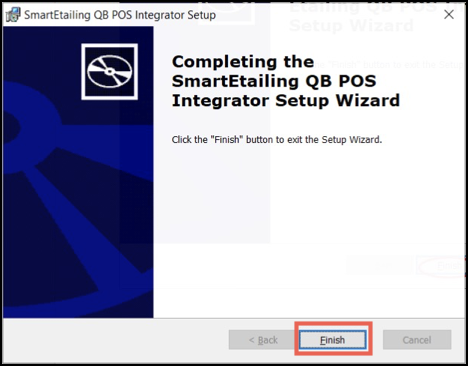
- The installation will create a program shortcut on the desktop of the computer on which QBExport was installed

Open and Configure the QBExport
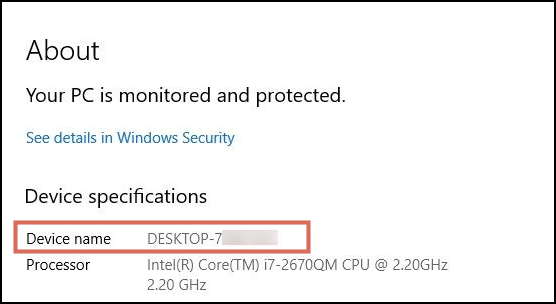
Double click on QBExport desktop shortcut to start the application- You will need your Computer name and QuickBooks Company name for the first tab - QB POS Settings
- To find your computer device name, use Windows search and type in "About My PC" and choose the top search selection (may say "System Settings")
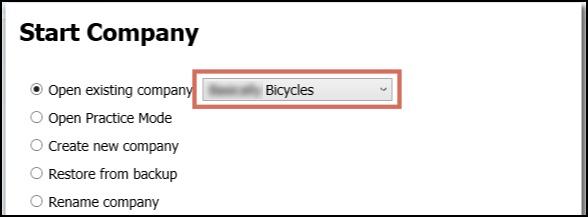
- To find your QuickBooks company name, open quickbooks and go to File > Company Operations.
- NOTE: Leave your QuickBooks POS open at this point
- To find your computer device name, use Windows search and type in "About My PC" and choose the top search selection (may say "System Settings")
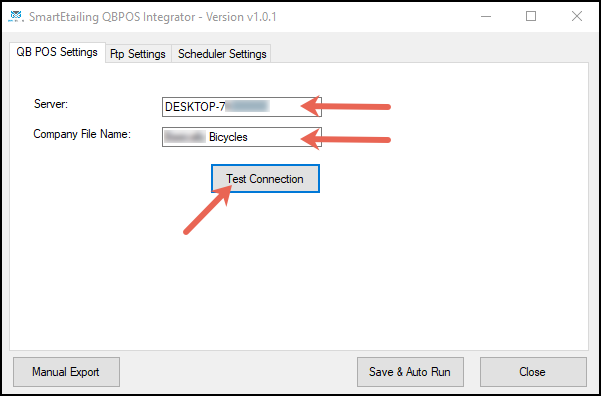
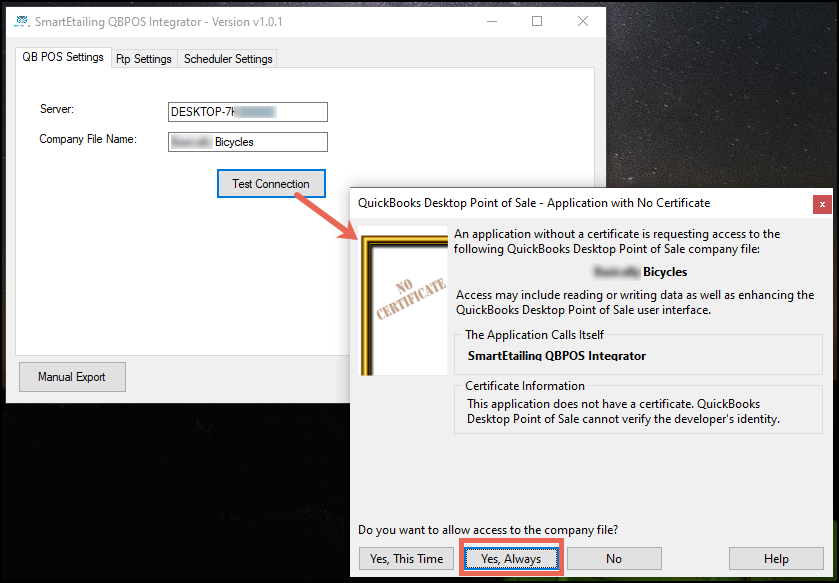
- Complete the two fields on the QB POS Settings Tab, then click Test Connection
- Server is your Computer Name and Company File Name is the Store name in Quickbooks
- Server is your Computer Name and Company File Name is the Store name in Quickbooks
- A Certificate Access window will appear. Click the button to choose "Yes, Always"
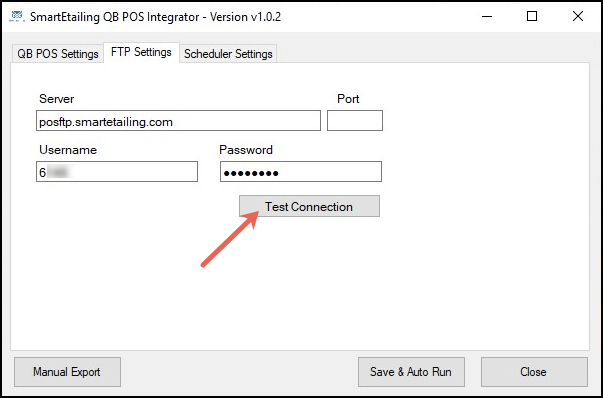
- Click to the next tab - FTP Settings to enter in the POS FTP information, then click Test Connection (you should see a success message)
- Server: posftp.smartetailing.com
- Port: leave blank
- Username: your 3-4 digit number for your SmartEtailing account (Merchant ID)
- Password: the POS FTP password generated in Admin under Settings> POS Sync > POS Sync Settings.
- Configure your Inventory Uploads on the third tab - Scheduler Settings
- Schedule your inventory uploads - toggle the first checkbox for On or Off, you have the scheduler on if you see a checkmark
- There are two scheduling options:
- To upload/sync your inventory on a regular basis; once per hour, once every 2 hours, etc.
- To upload at a specific time of day that can be scheduled for two different times of day (ex: once mid-day and once in the evening)
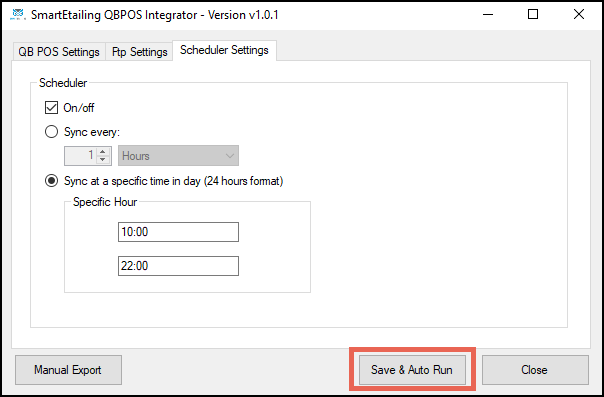
- Once you have setup your scheduling for inventory uploads, click Save & Auto Run then Minimize the window for the QBExport. Do NOT close the program.
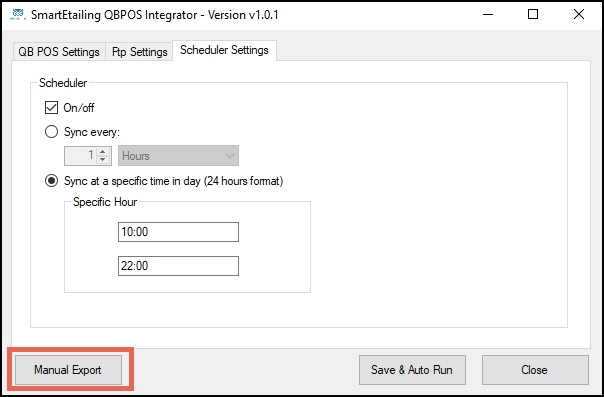
- Manual Exports of your inventory can be done at anytime from your QBExport application
IMPORTANT: For your inventory uploads to run on a daily or hourly basis, leave QBExport and your QuickBooks POS running. Closing QBExport will stop the uploads. If your computer is shut down at night, you can add QBExport to be a program that Runs at Windows Startup. See How to Add programs to Windows Startup on Win 10.
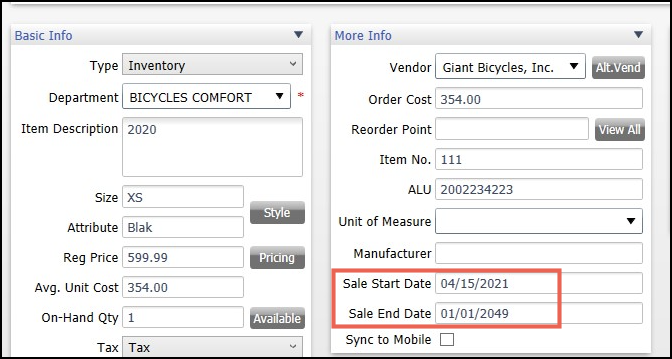
Use Sale Prices in your QuickBooks POS for Inventory Uploads
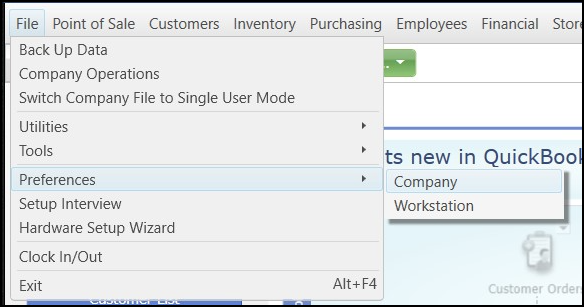
- Add customer Fields to QuickBooks for Sale Start and End Dates. In Quickbooks main menu, go to File > Preferences > Company
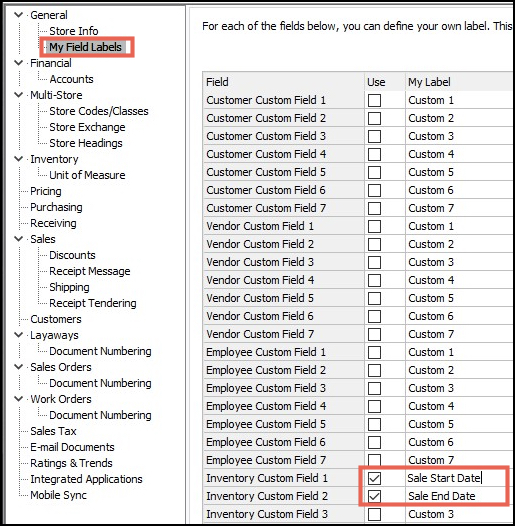
- Under General click on My Field Labels
- Locate the Inventory Custom Fields and click to use Inventory Custom Fields 1 and 2, and label them Sale Start Date and Sale End Date
- Use these custom fields within the edit of any items that are put on sale in your QuickBooks
- Be sure to use the date format: MM/DD/YYYY for all Sale Dates.
- Tip: Use the Sale End Date of 01/01/2049 to automatically mark your items on the website as Closeouts.
- Click Pricing next to the Reg. Price to update the Sale Price.